
We’ve covered iOS localization in several tutorials, including one that shows how to fully localize an app using String Catalogs. However, these tutorials rely on the system language to determine the app’s language. But what if you want to give users the ability to choose their preferred language, regardless of the system setting? And what if you want the language to update instantly—without restarting the app? That’s exactly what this tutorial will teach you.
Before we get started, I recommend reviewing the earlier iOS localization tutorial if you’re not familiar with String Catalogs. The demo app used in this tutorial builds on the one from that guide.
The Demo App
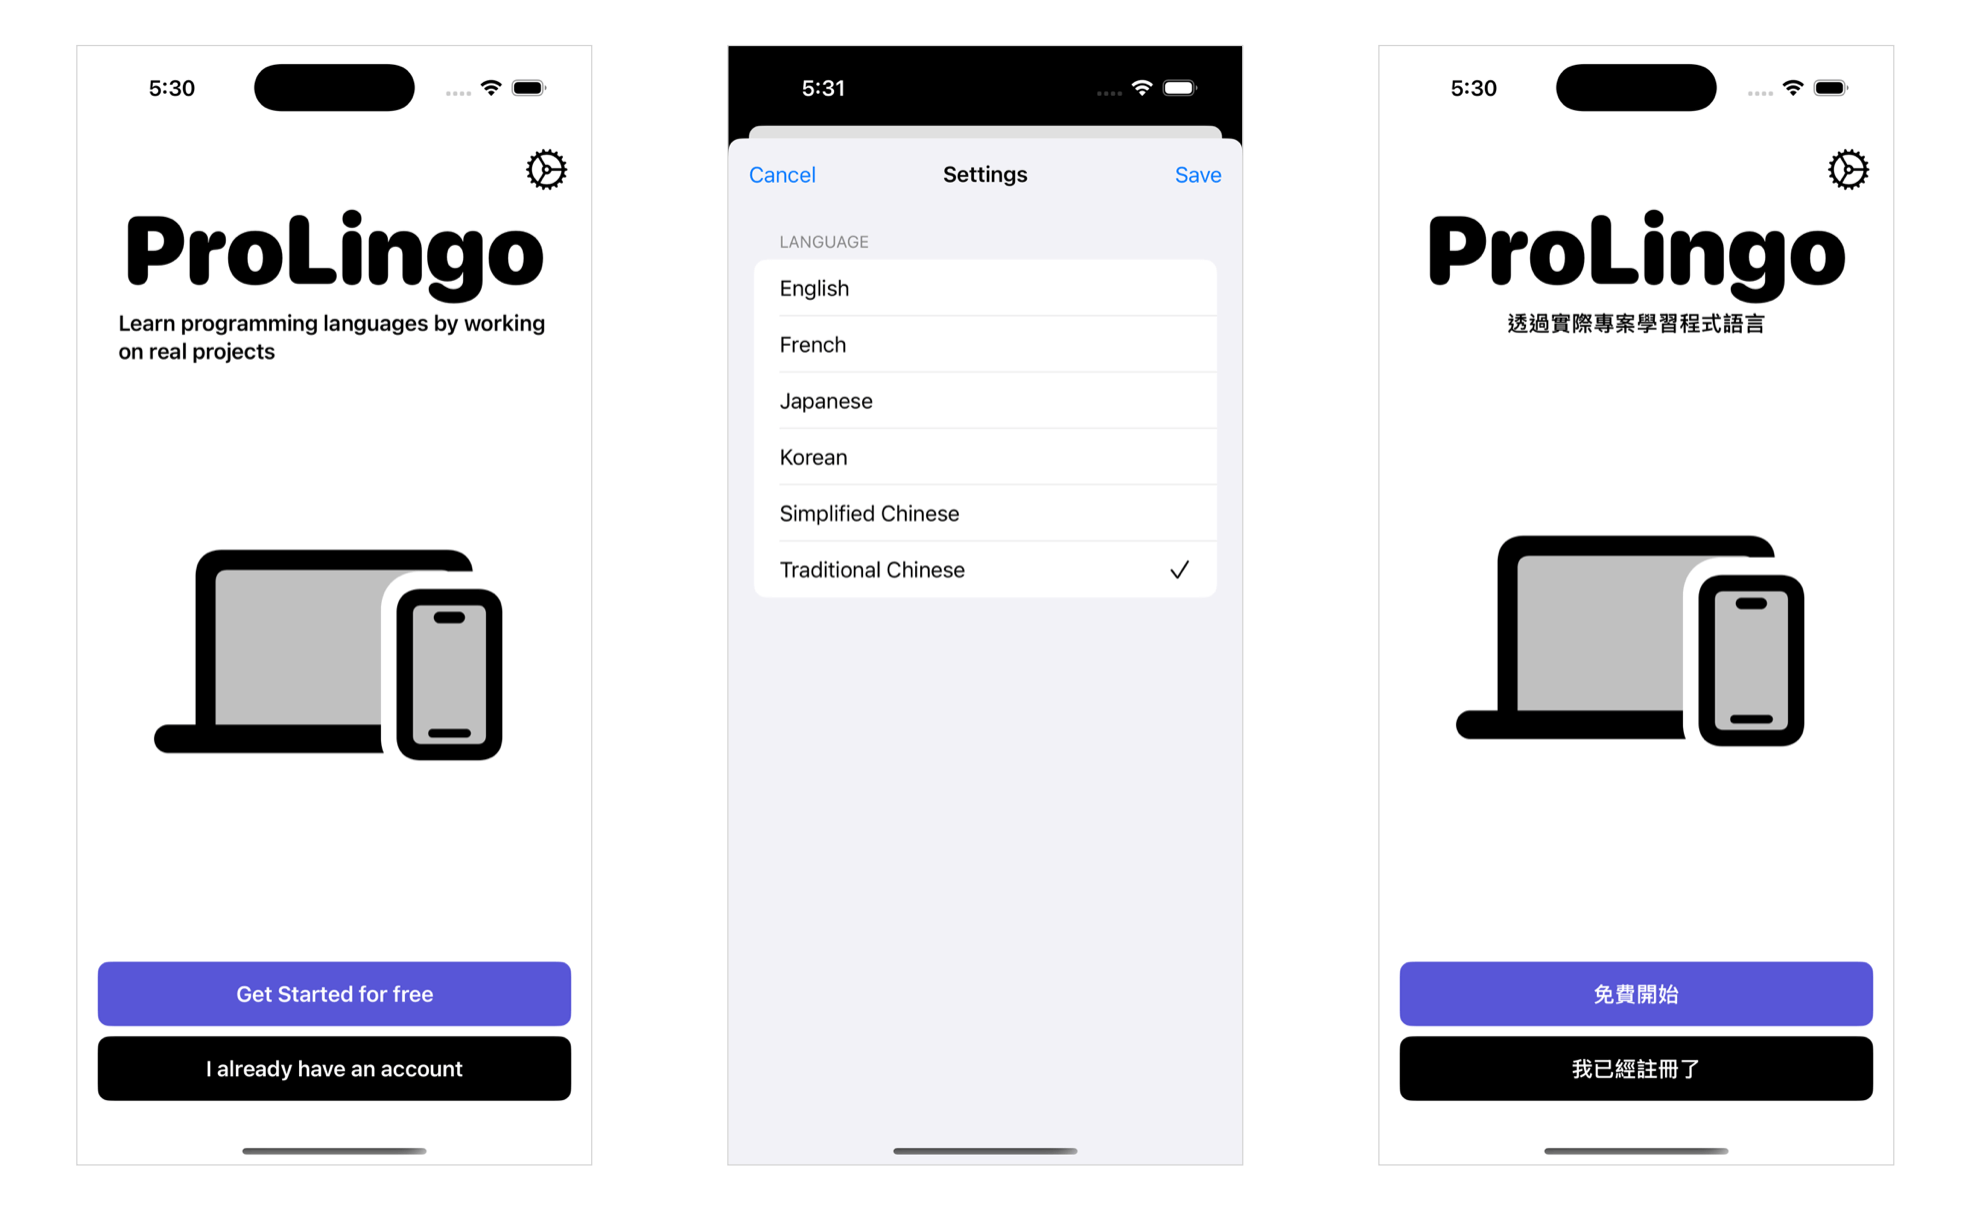
We’re reusing the demo app from our iOS localization tutorial—a simple app with basic UI elements to illustrate localization concepts. In this tutorial, we’ll extend it by adding a Settings screen that lets users select their preferred language. The app will then update the language instantly, with no need to restart.
Adding App Languages and App Settings
Before we start building the Setting screen, let’s first add an AppLanguage enum and an AppSetting class to the project. The AppLanguage enum defines the set of languages that your app supports. Here is the code:
enum AppLanguage: String, CaseIterable, Identifiable {
    case en, fr, jp, ko, zhHans = "zh-Hans", zhHant = "zh-Hant"

    var id: String { rawValue }

    var displayName: String {
        switch self {
        case .en: return "English"
        case .fr: return "French"
        case .jp: return "Japanese"
        case .ko: return "Korean"
        case .zhHans: return "Simplified Chinese"
        case .zhHant: return "Traditional Chinese"
        }
    }
}
Each case in the enum corresponds to a specific language, using standard locale identifiers as raw values. For example, .en maps to "en" for English, .fr to "fr" for French, and so on. The displayName computed property provides a user-friendly label for each language. Instead of displaying raw locale codes like “en” or “zh-Hans” in the UI, this property returns readable names such as “English” or “Simplified Chinese.”
The AppSetting class, which conforms to the ObservableObject protocol, is a simple observable model that stores the user’s selected language. Here is the code:
class AppSetting: ObservableObject {
    @Published var language: AppLanguage = .en
}
By default, the language is set to English. Later, when the user selects a different language from the Settings screen, updating this property will cause SwiftUI views that rely on the app’s locale to re-render using the new language.
Building the Setting Screen
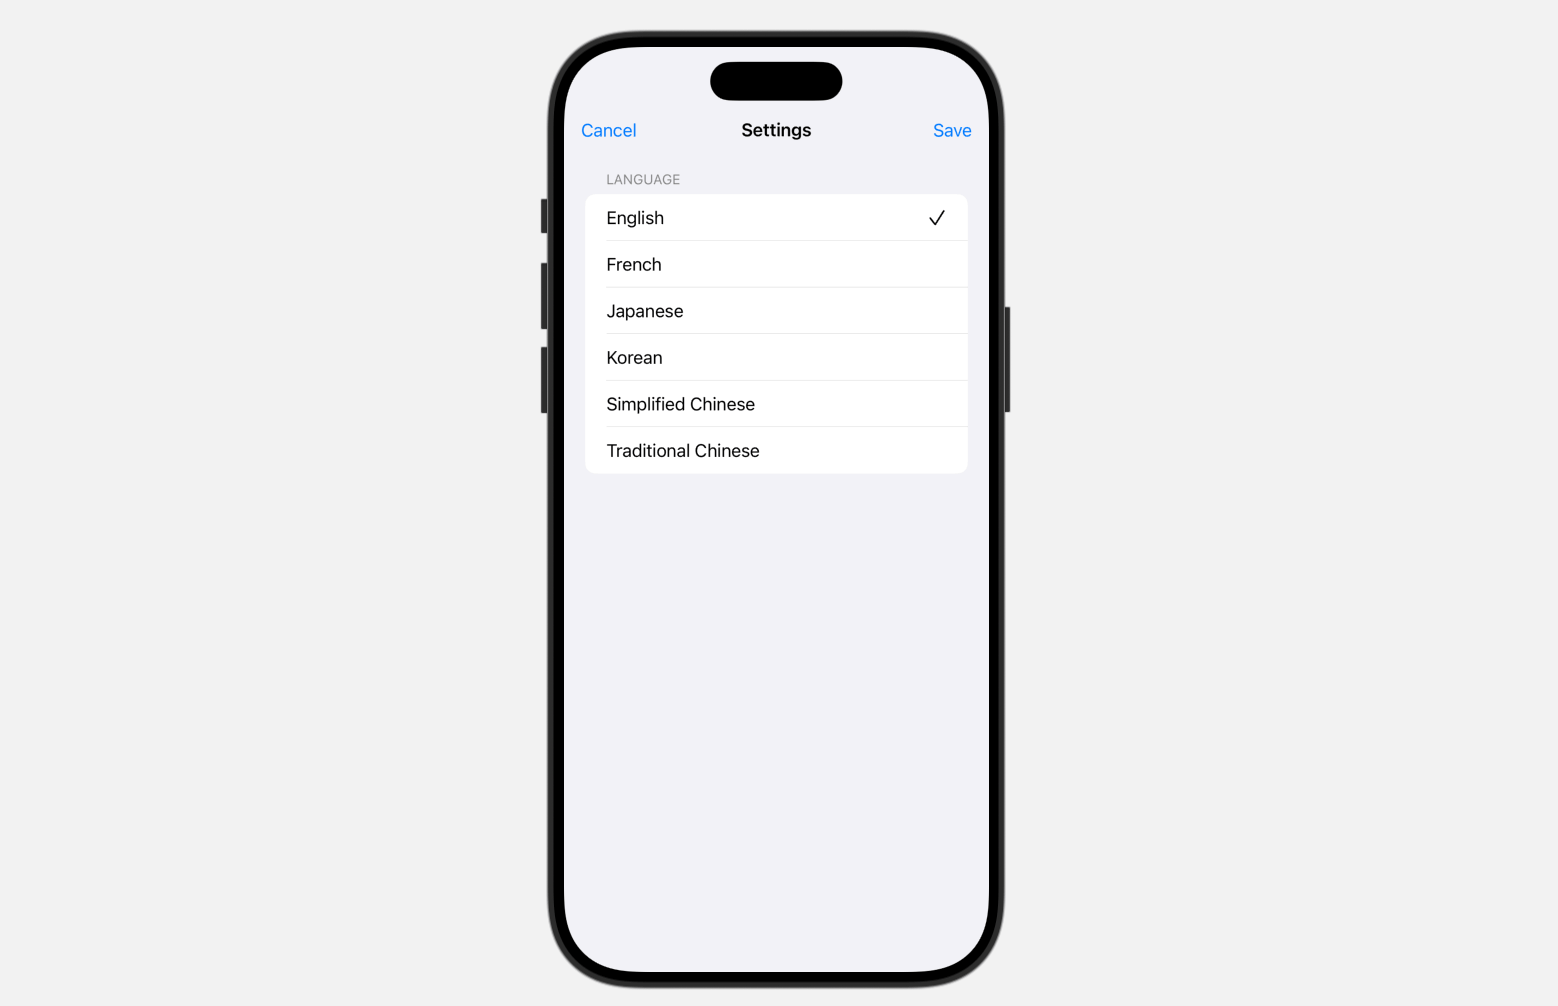
Next, let’s build the Settings screen. It’s a simple interface that displays a list of all the supported languages. Below is the code for implementing the setting view:
struct SettingView: View {

    @Environment(\.dismiss) var dismiss

    @EnvironmentObject var appSetting: AppSetting

    @State private var selectedLanguage: AppLanguage = .en

    var body: some View {
        NavigationStack {
            Form {
                Section(header: Text("Language")) {
                    ForEach(AppLanguage.allCases) { lang in

                        HStack {
                            Text(lang.displayName)

                            Spacer()

                            if lang == selectedLanguage {
                                Image(systemName: "checkmark")
                                    .foregroundColor(.primary)
                            }

                        }
                        .onTapGesture {
                            selectedLanguage = lang
                        }
                    }
                }
            }

            .toolbar {
                ToolbarItem(placement: .topBarTrailing) {
                    Button("Save") {
                        appSetting.language = selectedLanguage
                        dismiss()
                    }
                }

                ToolbarItem(placement: .topBarLeading) {
                    Button("Cancel") {
                        dismiss()
                    }
                }
            }
            .navigationTitle("Settings")
            .navigationBarTitleDisplayMode(.inline)

        }
        .onAppear {
            selectedLanguage = appSetting.language
        }
    }
}

#Preview {
    SettingView()
        .environmentObject(AppSetting())
}
The view simply lists the available languages as defined in AppLanguage. The currently selected language shows a checkmark next to it. When the user taps “Save,” the selected language is saved to the shared AppSetting object, and the view is dismissed.
In the main view, we add a Setting button and use the .sheet modifier to display the Setting view.
struct ContentView: View {

    @EnvironmentObject var appSetting: AppSetting

    @State private var showSetting: Bool = false

    var body: some View {
        VStack {

            HStack {
                Spacer()

                Button {
                    showSetting.toggle()
                } label: {
                    Image(systemName: "gear")
                        .font(.system(size: 30))
                        .tint(.primary)
                }


            }

            Text("ProLingo")
                .font(.system(size: 75, weight: .black, design: .rounded))

            Text("Learn programming languages by working on real projects")
                .font(.headline)
                .padding(.horizontal)

           .
           .
           .
           .
           .
           .

        }
        .padding()
        .sheet(isPresented: $showSetting) {
            SettingView()
                .environmentObject(appSetting)
        }

    }
}
Enabling Real-Time Language Changes
At this point, tapping the gear button will bring up the Settings view. However, the app doesn’t update its language when the user selects their preferred language. To implement dynamic language switching, we have to attach the .environment modifier to ContentView and update the locale to match the user’s selection like this:
VStack {
   ...
}
.environment(\.locale, Locale(identifier: appSetting.language.id))
This line of code injects a custom Locale into the SwiftUI environment. The \.locale key controls which language and region SwiftUI uses for localizable views like Text. The locale is set to match the language the user selected in settings.
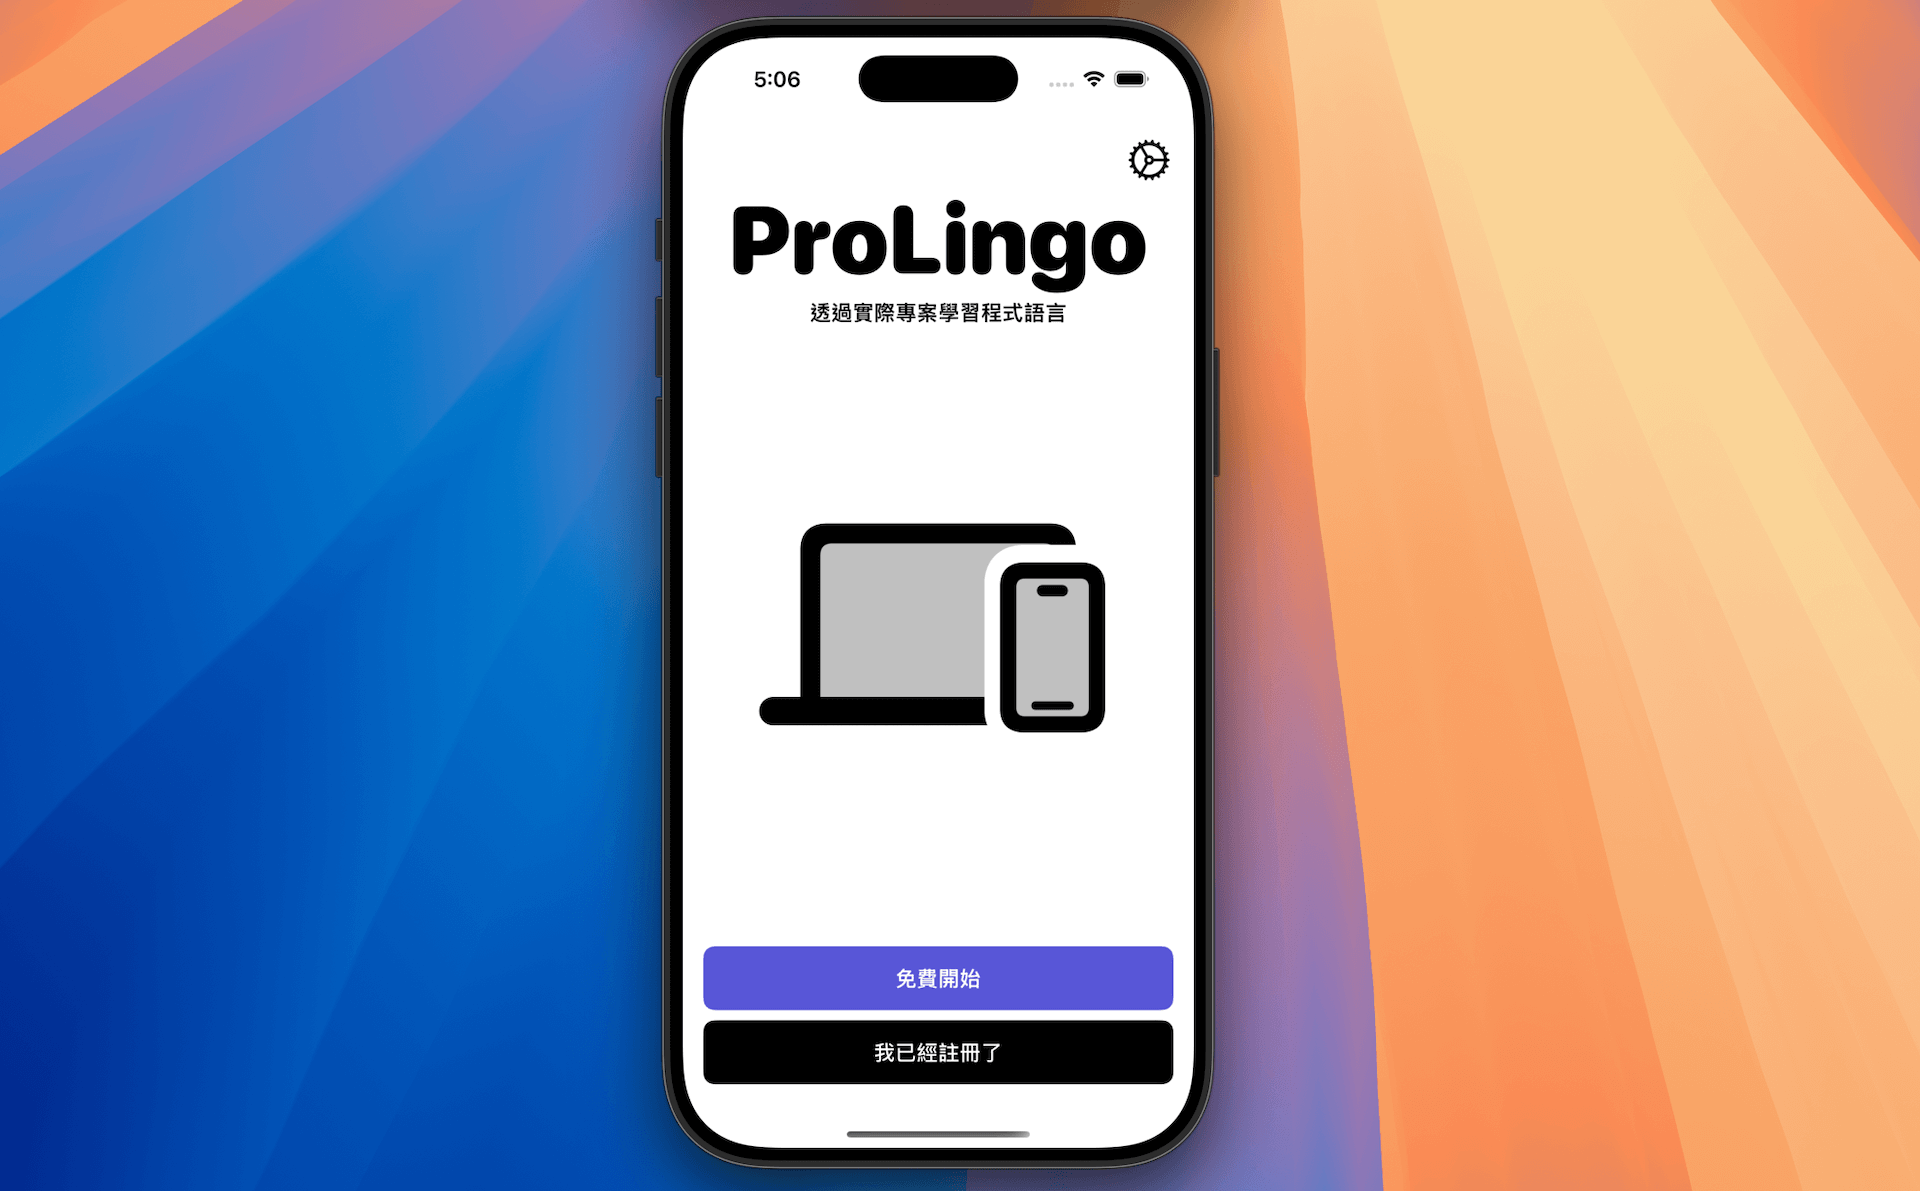
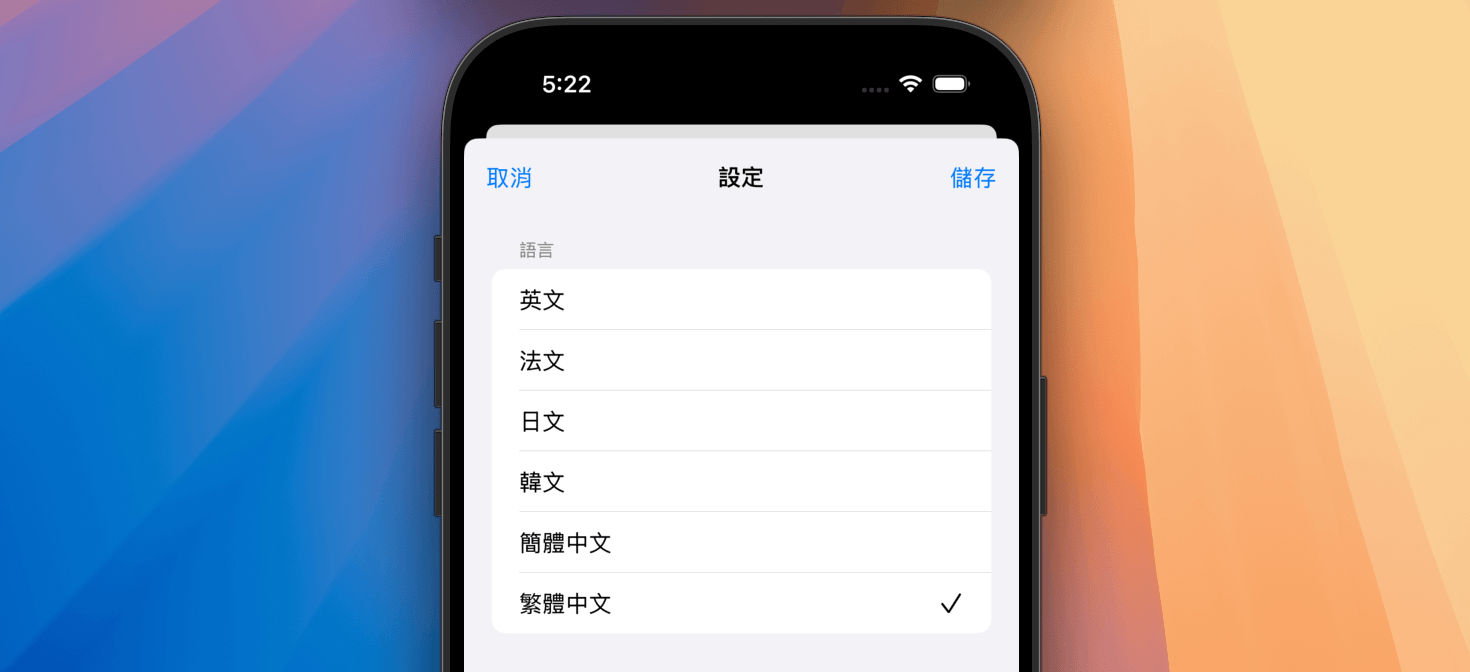
The app can now update its language on the fly. For example, open the Settings view and select Traditional Chinese. After saving your selection and returning to the main view, you’ll see the UI instantly updated to display all text in Traditional Chinese.
Using LocalizedStringKey
You may notice a bug in the app. After changing the language to Traditional Chinese (or other languages) and reopening the Settings view, the language names still display in English.

Let’s take a look at the code that handles the display of language name:
Text(lang.displayName)
You may wonder why the Text view doesn’t handle the localization automatically. In this case, SwiftUI treats lang.displayName as a plain text, which means no automatic localization happens, even if the string matches a key in the String Catalog file. To make the localization work, you need to convert the String to a LocalizedStringKey like this:
Text(LocalizedStringKey(lang.displayName))
Using LocalizedStringKey triggers the localization lookup process. When you run the app again, you’ll see the language names in the Settings view displayed in your chosen language.
Summary
In this tutorial, you learned how to implement in-app language switching in iOS using SwiftUI, allowing users to change languages without restarting the app. We explored how to create a Settings screen for language selection, enabled real-time localization updates, and learned the importance of using LocalizedStringKey for proper string localization.
The code and concepts presented here provide a foundation for implementing language switching in your own iOS apps. Feel free to adapt this approach for your own iOS apps that require multi-language support.